Wall Mouldings: Materials, Proportions and Placement
Mouldings give a wall classical rhythm or a modern frame, but only when their size and position are right. Materials, proportion rules and installation order.
Add a few slim profiles to a plain painted wall and the room suddenly looks more finished. In neoclassical interiors it is panel frames; in modern apartments a single horizontal line or a simple surround at a door does the same job — giving the wall rhythm and scale. Mouldings that are the wrong size or placed at random do the opposite: they break the room up and highlight every crooked line.
Materials: strengths and weaknesses
Plaster. The traditional material. It gives crisp detail and deep relief and looks natural when painted. It is heavy, vulnerable to knocks and takes experience to install. It is preferred in historic and classical interiors, especially for ceiling cornices.
Polyurethane. Light, strong and moisture-resistant. It reproduces detail almost as precisely as plaster and is easy to cut and glue. Being slightly flexible, it copes better with walls that are not perfectly straight. It is one of the most widely used options in apartment renovation.
Polystyrene (foam). The lightest and simplest option. Its surface is soft and dents on impact, and details can look coarser. It can work in high areas that are rarely touched, such as just below the ceiling, but it is a poor choice for panel frames at eye level.
Timber and MDF. Wooden mouldings look warm under lacquer or paint but react to changes in humidity. For straight, simple profiles that will be painted, MDF is a stable and economical alternative. Standard MDF should not be used in wet rooms.
Proportion: the moulding must suit the room
Profile width and depth are chosen in relation to ceiling height. In a low room, large deep mouldings make the wall feel heavy; in a tall room, thin profiles simply disappear. Before ordering, tape a short length of moulding to the wall and step back to judge its scale.
A few practical rules help when planning panel frames:
- gaps between frames and margins from the wall edges are kept consistent;
- the top line of the lower frames is often aligned with the window sill or a similar reference line;
- a horizontal dividing line (a dado or chair rail) is often placed at roughly one third of the wall height;
- around doors and windows, frames follow the axis of symmetry of the openings.
These are not strict standards but visual aids for balance. The best result comes from laying out the frames on a wall elevation drawing and overlaying it with the furniture plan.
A different approach in classical and modern interiors
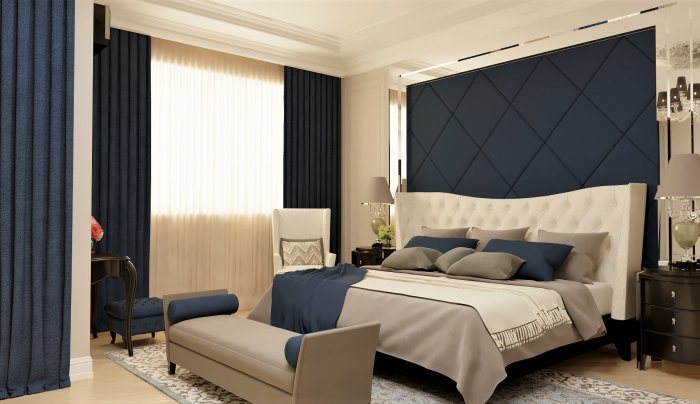
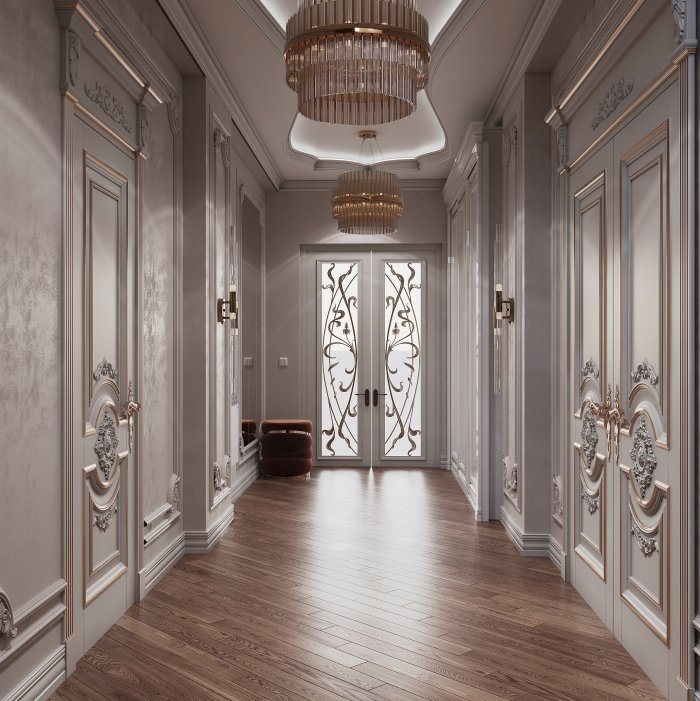
In classical and neoclassical interiors, mouldings are part of a system: the ceiling cornice, wall frames, door architraves and skirting are chosen in one style, with profiles that complement each other. The relief here can be richer, with decorative corner pieces and rosettes. The key rule is hierarchy between profiles: the largest detail is usually in the cornice, while wall frames are kept finer.
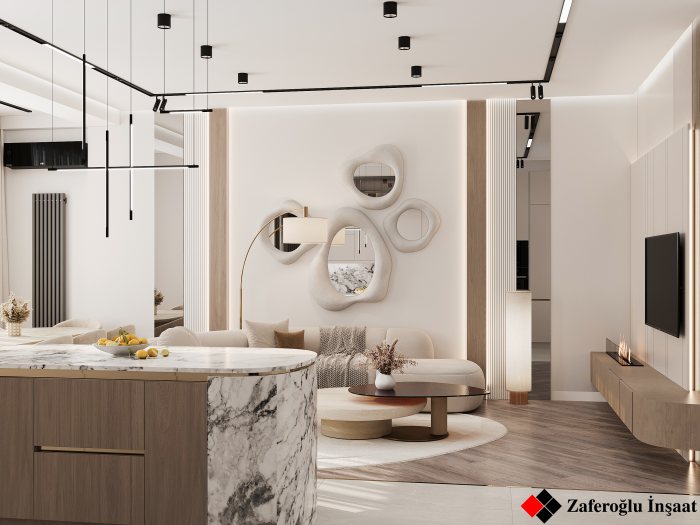
In modern interiors the approach is simpler. Flat, geometric profiles, a single horizontal line, slim frames painted the same colour as the wall or moulded recesses for concealed lighting are used. With so little detail, precision matters even more: a crooked line or an untidy corner is immediately noticeable.
Either way, the relationship between mouldings and other elements on the wall — door heights and window reveals, for instance — should be maintained. A frame that starts at an arbitrary height disrupts the rhythm of the whole room.
Coordinating with furniture, sockets and lighting
Planning mouldings separately from furniture is a common mistake. Half of a frame disappears behind the sofa, the bed headboard lands on the junction between two panels and a socket cuts through a moulding line. That is why the positions of furniture, the TV, wall lights and electrical points are fixed first, and the frames are divided around them.
Wall lights and switches are placed, as far as possible, in the centre of a frame or on a clear line of symmetry. Cable routes must be finished before the mouldings go up.
Installation sequence
- The wall is plastered, finished with skim coat and primed.
- Frame lines are marked on the wall with a laser level.
- Corners are mitred at 45 degrees and profiles are bonded with the adhesive the manufacturer recommends; heavy plaster pieces may need additional mechanical fixing.
- Joints and fine gaps against the wall are closed with flexible filler.
- Finally, wall and mouldings are painted in the same colour or in different ones.
Painting mouldings the same colour as the wall gives a calm, contemporary look, while a contrasting colour strengthens the classical character. Satin paint shows the relief more clearly but is also less forgiving of an uneven wall.
Checks at handover
Check the horizontal and vertical lines of the frames, how tight the corner joints are, that there are no cracks or gaps at the joints, and that paint reaches evenly into the deep parts of the profile. Looking under raking light quickly reveals places where a moulding has pulled away from the wall.
In neoclassical and contemporary interior projects, Zaferoğlu İnşaat develops wall mouldings in a computer model together with the furniture and lighting plan. Send us the wall elevations and furniture positions, and we can try out the moulding panel layout on them.
News