Floor Borders and Patterns in Tile and Stone
When a floor border, rug effect or pattern suits a space, how to set it out, and which technical details decide the final result.
Floor borders and inlaid patterns are a recognisable feature of classic interiors, but they are not only for palace-style reception rooms. A simple, well-proportioned border gives structure to a large hall, marks the place of a dining table and breaks a long corridor into sections. A badly sized pattern, on the other hand, disappears under furniture or makes the room feel smaller. The result depends far more on planning than on materials.
When a pattern makes sense
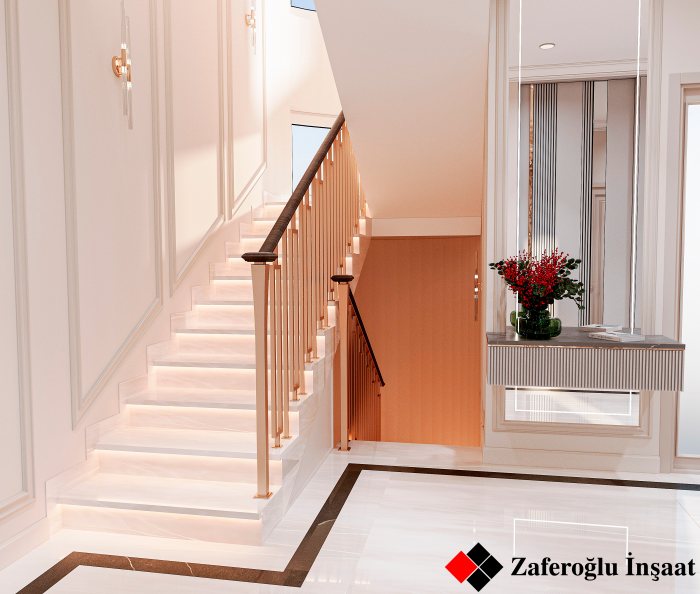
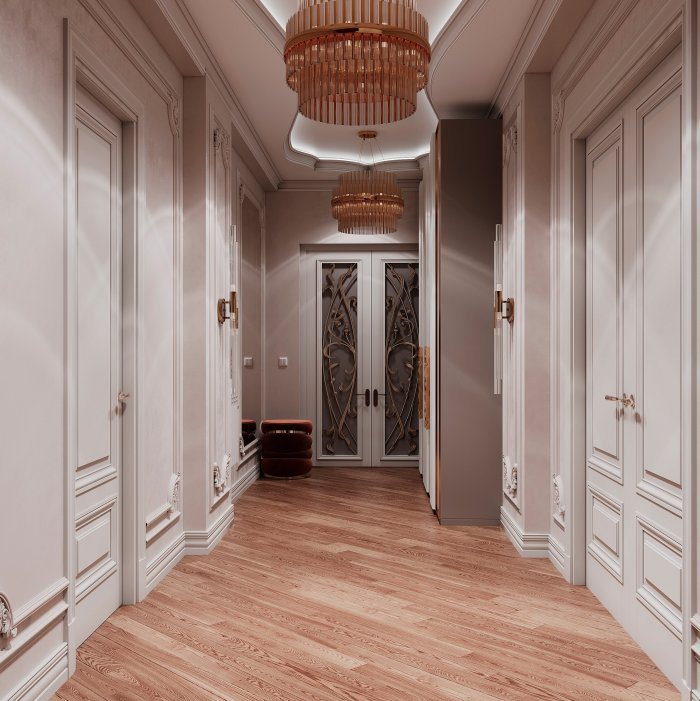
Floor compositions work best in areas that stay free of furniture: the entrance hall, the landing in front of the stairs, corridors and the space around a round table. Here the floor is on show and a pattern can act as the focal point of the room.
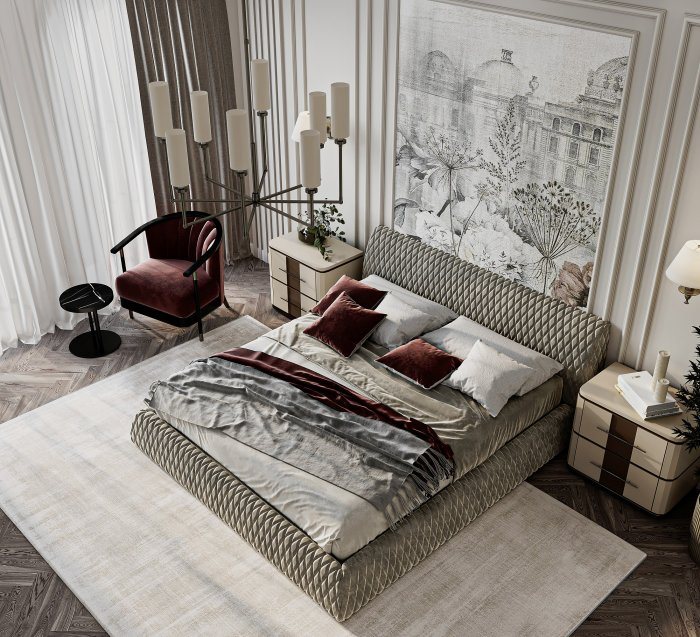
Living rooms and bedrooms are different. Sofas, beds and rugs cover much of the floor, so a complex central motif often ends up hidden. In these rooms a plain border around the perimeter, or no pattern at all, is usually the more sensible choice.
Style matters too. In neoclassical and classic interiors, a contrasting stone border, a rosette or a diagonal layout feels natural. In contemporary interiors the pattern tends to come from tone and laying direction: the same tile laid in a different orientation, or a one-shade difference, is often enough.
Setting out: start with the furniture
Draw the pattern on a furnished plan, not on an empty room outline. A border should not run under furniture, nor sit so close to the wall that it becomes a thin strip. In a dining area, the border is sized to allow for chairs being pulled back from the table.
Rooms are rarely perfectly square. When walls are out by a few centimetres, a perimeter border exposes the error. That is why the border is usually set slightly away from the wall with a filler strip in between; the cut tiles in that strip absorb the irregularity of the walls.
Before drawing the layout, decide:
- the room's axes and centre, and which point the pattern is symmetrical about;
- door openings, so that anyone entering sees the pattern square on;
- the final position of furniture and rugs;
- where cut tiles will fall, ideally along edges that are not noticed;
- whether the tile size fits the border width without awkward cuts.
Combining materials
When the border and the main field use different materials, their thickness, hardness and care needs must be considered. Tiles of different thickness are brought level through the adhesive bed, which demands extra precision from the installer.
When stones of different hardness are laid side by side and polished together, the softer one wears faster and a lip can develop. For marble with granite, or marble with ceramic, this should be discussed with the installer in advance.
Colour contrast deserves thought as well. A very dark border on a light floor shows every speck of dust and every footprint, while tones that are too close make the composition invisible. Placing sample tiles on the floor and looking at them in daylight and in the evening is a good test.
Cutting methods and ready-made inserts
Straight borders are made with ordinary tile cutting. Curves, circles, rosettes and ornaments are usually ordered as waterjet-cut panels. These are assembled in the workshop, held together with mesh and laid on site as a single piece.
When ordering such a panel, its size and the points where it meets the main tiles must be shown precisely on the drawing. Once the panel arrives, it is much easier to fit the surrounding tiles to it than the other way round.
Spare material matters more on a patterned floor than on a plain one. If a border piece breaks years later, finding stone of the same colour and batch can be difficult. It is wise to keep a few pieces of every tile type and ready-made panel for repairs. Stored somewhere dry, labelled and kept with a copy of the layout drawing, they make a future repair far easier.
Common mistakes
The problems that come up again and again with floor patterns are:
- half the pattern hidden once the furniture is in place;
- a border interrupted at a doorway or finishing with a sliver of cut tile;
- joints of different widths in the border and in the main field;
- so many small pieces that the number of joints makes cleaning hard;
- the pattern aligned to a crooked wall instead of the room's axis.
In its design projects Zaferoğlu İnşaat presents floor compositions in drawings and computer models, so the client can see the result before work starts. Share your floor pattern ideas with us and we can look at them together.
News