Plasterboard Suspended Ceilings: Framing, Levels, Light Coves
How a plasterboard suspended ceiling is built, getting the framing right, stepped and cove designs, preventing joint cracks and coordinating services.
Plasterboard suspended ceilings are one of the most widely used ceiling solutions in apartment and villa renovations. They hide defects in the concrete slab, conceal lighting and air-conditioning lines, and make stepped shapes and concealed light coves possible. But whether a plasterboard ceiling stays flat and crack-free for years depends on how its framing, joints and sequencing with other trades are handled.
How a suspended ceiling is built
A plasterboard ceiling has three main parts: hangers fixed to the slab, a metal stud framework suspended from them, and plasterboard sheets screwed to the frame. The frame consists of perimeter channels fixed to the walls and main and cross members running between them.
Spacing of the members and hangers is set by board thickness, the weight of the ceiling and the manufacturer's system instructions. When that spacing is stretched "by eye", the boards sag over time and joints open. Hangers must be fixed with anchors suitable for concrete; plastic plugs are not reliable for ceiling loads.
The ceiling level is set across the whole room with a laser level. In older buildings the concrete slab is often uneven, and the length of the hangers compensates for it.
Types of board
Plasterboard sheets differ by purpose:
- standard boards for dry living spaces;
- moisture-resistant boards for bathrooms, kitchens and humid areas;
- fire-resistant boards where fire-safety requirements apply;
- thin flexible boards for curves and circular shapes;
- perforated acoustic boards for rooms that need sound absorption.
Board type is chosen room by room; using the same board throughout an apartment is not always right. Handling and storage matter as well: boards should be stored flat in a dry place and protected from corner damage, otherwise they deform before they are even fixed.
Stepped ceilings and light coves
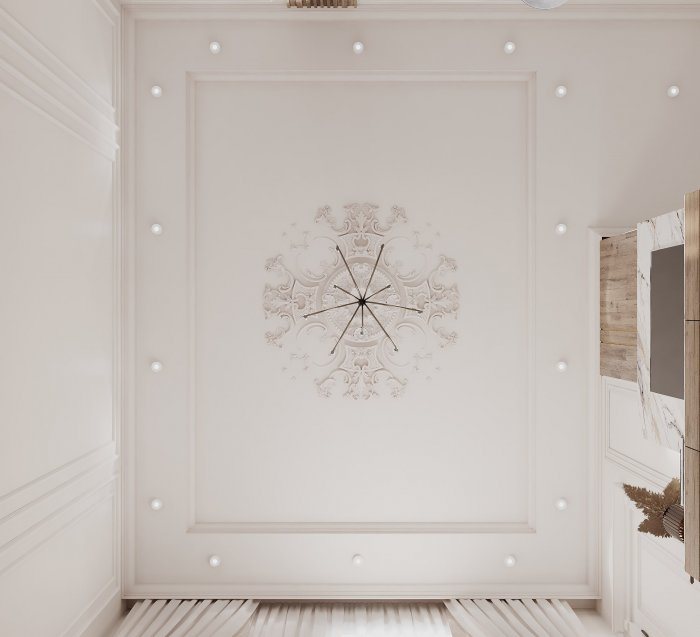
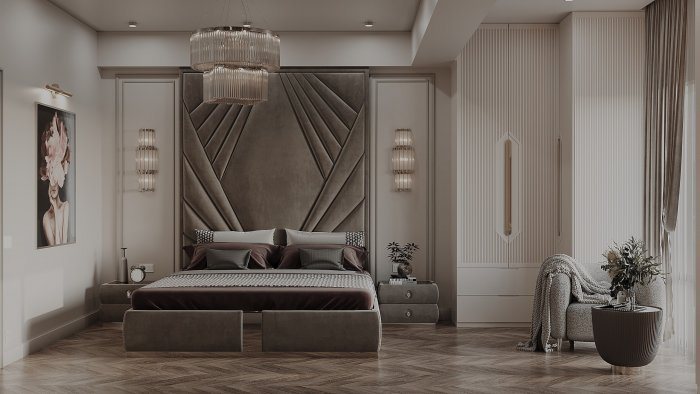
The great advantage of plasterboard is freedom of form. Part of the ceiling can be dropped to create a step, a cove for concealed LED strip can run around the perimeter, and a recess can be formed for a curtain track. These elements zone the room and make light soft and indirect.
Several details matter when planning a light cove. Its height and depth should hide the LED strip from below while letting light spread evenly across the ceiling. An accessible place for the strip's power supply, such as a service hatch, must be provided. The inside of the cove should be painted too, because that is the surface the light reflects from.
Each step in a stepped ceiling takes extra height from the room. That is why multi-level designs work better in high rooms, while at standard heights a single simple step or just a perimeter cove is the better choice.
Joints and preventing cracks
The most common complaint about plasterboard ceilings is cracks at board joints. The causes are usually well known:
- framing that is weak or too widely spaced;
- end joints of boards lined up in one row instead of being staggered;
- joints filled without reinforcing tape;
- boards installed in a damp room before plaster and screed have dried;
- the ceiling rigidly connected to the walls, ignoring the building's natural movement.
Joints are finished with a gypsum jointing compound and tape, then the whole surface is skimmed smooth. At the wall junction, a separating tape or shadow gap stops movement from showing up as a crack.
Services and sequencing
Before the ceiling is closed, every line that will run inside it must be ready: lighting cables, air-conditioning pipes and condensate drains, ventilation ducts and, if needed, fire alarm wiring. These are tested before closing and recorded with photos.
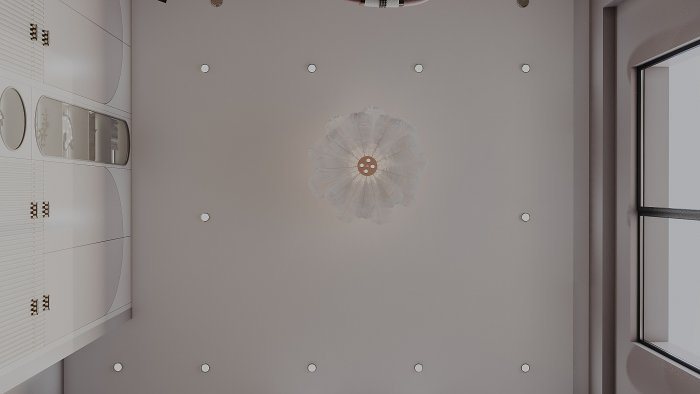
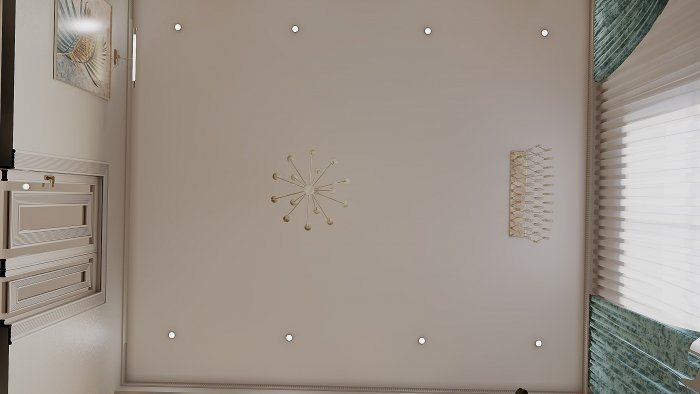
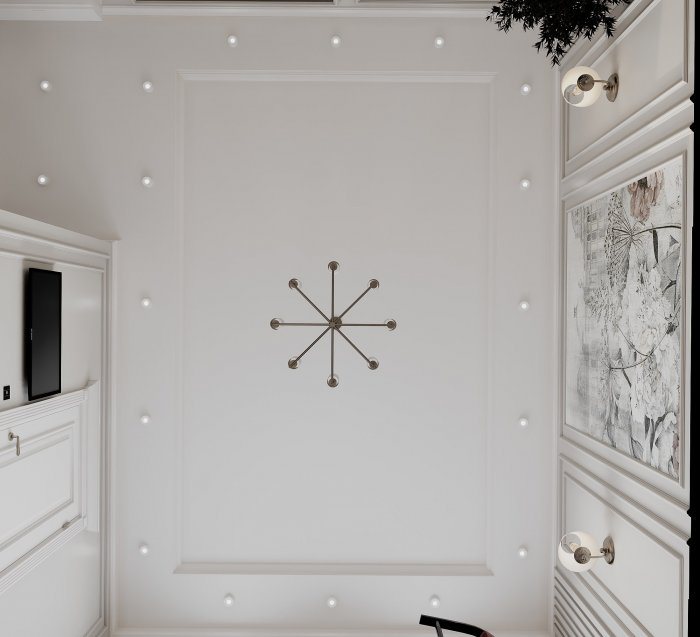
Light positions should be marked while the frame is being built, so that downlight cut-outs do not land on a main member. If a heavy chandelier is planned, a separate hanger fixed to the concrete is prepared for it; plasterboard alone cannot carry a heavy load.
Service hatches are planned for access to air-conditioning and ventilation units and junction boxes. Their positions are chosen with the furniture layout and ceiling design in mind so they do not spoil the look.
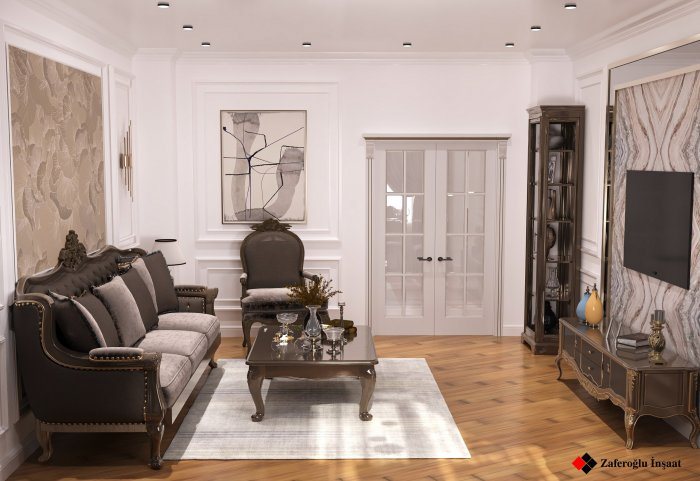
In its apartment and villa projects Zaferoğlu İnşaat prepares ceiling designs together with the lighting plan as drawings and computer models. We can discuss how many levels and what lighting a plasterboard ceiling should have in your room.
News