Laying Large-Format Tiles: Substrate, Adhesive and Joints
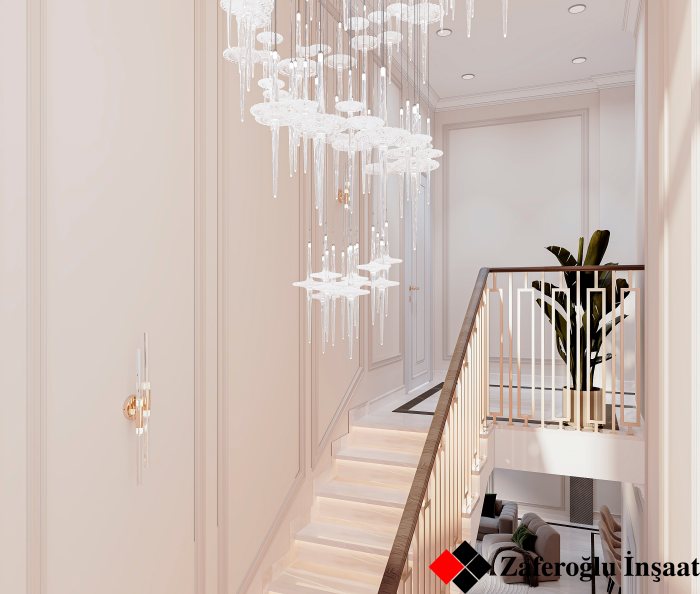
Large-format tiles need a different approach from standard tiles: a flat substrate, deformable adhesive, back-buttering, a levelling system and movement joints.
Large porcelain tiles create a near-seamless, continuous surface on floors and walls. In a hallway, a stair landing or an open-plan living room, that look makes the space feel calm and spacious. But as tiles grow larger, so do the consequences of small technical mistakes. An unevenness that would go unnoticed with ordinary tiles shows up in large formats as lipped edges, hollow sounds or cracks.
Why large formats need their own approach
Large tiles are more sensitive for several reasons.
- Tendency to bend: a long, relatively thin tile that is not fully supported can crack under load where it is left unsupported.
- Substrate defects show: because the distance between the tile's ends is large, a small dip or bump in the base creates a height difference between neighbouring tiles.
- The tile's own bow: tiles can have a slight curvature from manufacturing. On long sides this becomes more noticeable, especially when tiles are offset at half their length.
- Weight: a heavy tile is harder to place, level and hold on a wall.
For these reasons, the substrate, adhesive, tools and layout are planned together for large formats.
Substrate: flatness comes first
Trying to correct a large tile with a thick bed of adhesive is a mistake. A thick bed shrinks unevenly, the tile can sink after it has been set, and voids remain underneath. The right way is to prepare the base in advance.
- On floors, the screed is checked and, where needed, finished with self-levelling compound.
- On walls, the plaster must be flat enough for the requirements of large tiles.
- The base must be sound, dry and free of dust and weak layers.
- The primer required by the adhesive manufacturer is applied.
Flatness is measured with a long straightedge in several directions. The longer the tile, the longer the straightedge used for checking should be.
Adhesive and full coverage
For large porcelain tiles, improved and deformable adhesives are chosen. Under the European standard EN 12004 this usually means class C2 with S1 or S2 deformability. A deformable adhesive copes better with differences in temperature movement and shrinkage between the base and the tile.
The key rule is that no voids remain under the tile. To achieve this, back-buttering is used: adhesive is combed onto the base with a notched trowel and also spread in a thin layer on the back of the tile. The notch size is chosen according to the tile size and the substrate. Trowel ridges are combed in one direction, usually parallel to the tile's short side, so air can escape easily when the tile is pressed down.
To check coverage, one of the first tiles is lifted after setting and its back inspected. If the adhesive has not covered the back fully, the technique is adjusted. On floors, and especially in bathrooms and outdoors, void-free bedding matters for both strength and moisture protection.
Levelling systems and tools
Levelling systems are used to keep the edges of adjacent tiles in one plane. Clips are placed between tiles, wedges or caps are tightened on top, and the edges are brought level. Once the adhesive has set, the visible part of each clip is snapped off.
A levelling system does not cancel out a tile's own bow and does not correct a crooked base. It is simply a final fine-tuning tool on a properly prepared substrate.
Vacuum lifters are used to carry and place large tiles, and special carrying frames for long ones. Lifting a tile by its middle can act like an impact on it. Cutting requires long-rail cutters or other precise tools. The face of a tile cut at the edge must be clean, because with large formats every cut is on display.
Joints and layout
Even though large tiles are chosen for a seamless look, joints cannot be reduced to zero. Rectified tiles, with precisely ground edges, allow narrow joints, but there must still be room for thermal expansion and dimensional tolerance. The joint width is set according to the manufacturer's recommendation.
The layout affects the risk of lippage. Offsetting long rectangular tiles by half their length can increase height differences at adjacent edges. In such cases manufacturers often recommend a smaller offset.
Movement joints are planned separately:
- perimeter joints along walls, columns, stairs and other fixed elements;
- a joint in the tiling above every movement joint in the screed;
- intermediate joints on large areas and over underfloor heating, according to the design;
- these joints are filled with a flexible sealant, not cement grout.
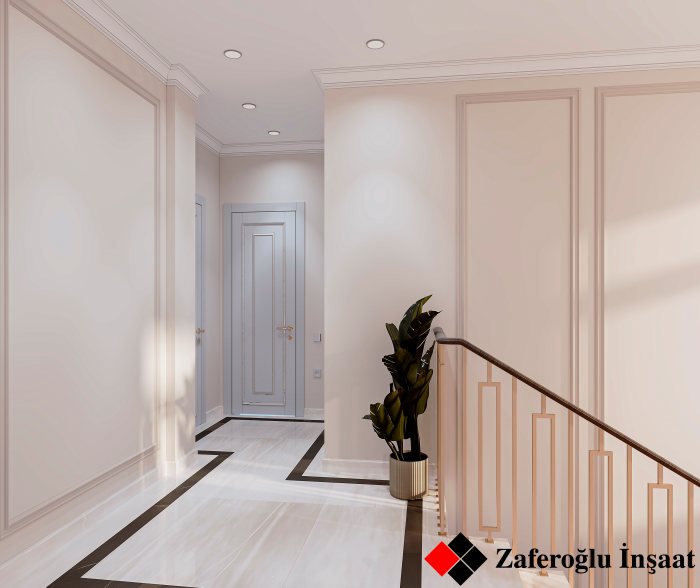
The starting line of the layout is chosen from the most visible axis of the room so that very narrow cuts do not end up at the edges. In narrow areas such as stair landings and hallways, this calculation is especially important.
What to look for at handover
- There should be no lippage between adjacent tile edges; check under side light.
- Tap the tiles lightly and mark any spots that sound hollow.
- Joints should be of even width with straight lines.
- Perimeter and movement joints should be filled with flexible material.
- Edges of cut tiles should be clean and free of chips.
Zaferoğlu İnşaat prepares the layout for large-format finishes in the design project on apartment and villa renovations, so cuts and joint lines are known before work begins. Planning large-format tiles? Talk to our office before you order them.
News