Tile Joints: Width, Colour and Grout Choice
What tile joint width depends on, how grout colour changes a surface, the difference between cement and epoxy grout, and where silicone is needed.
Joints make up a small part of a tiled surface, yet they strongly affect how a finished wall or floor looks and how it ages. A white tile with dark grout becomes a graphic grid; the same tile with pale grout reads as a continuous surface. On a kitchen floor, the wrong grout means stained, darkened lines within a few months. That is why joint width, colour and material should be chosen at the same time as the tile.
What joints are for
A joint is not just the gap between tiles. It has several functions:
- it absorbs small differences in tile size and allows straight lines to be kept;
- it leaves room for tile movement caused by temperature and moisture;
- it protects tile edges from chipping;
- it keeps water and dirt from getting under the tiles.
Butting tiles tightly together without joints removes these functions, creating a risk of chipped edges, tiles lifting or cracking.
What joint width depends on
Width is determined by several factors, and the main reference is the tile manufacturer's recommendation.
- Edge finish: rectified tiles have edges precisely ground at the factory and allow narrow joints. Non-rectified tiles can vary more in size and are given wider joints.
- Tile size: even with large formats the joint is not zero, because room is needed for movement and tolerance.
- Location: outdoors, on terraces and over underfloor heating, temperature changes are larger, so joints need more attention.
- Style: rustic, handmade-look tiles usually look more natural with wider joints.
Joint width is decided before work starts and kept consistent across the whole surface, using spacers or levelling clips. Where wall and floor tiles are the same size, aligning joint lines at the corner is also worked out in advance.
Colour changes the character of the surface
There are three main approaches to grout colour.
- A colour matching the tile hides the joints and makes the surface look continuous. It is often chosen for large formats and marble-effect tiles.
- A contrasting colour emphasises the tile's shape and the laying pattern. With metro tiles, herringbone or hexagons it creates a graphic effect. But it also exposes every crooked line and uneven joint, which raises the demands on workmanship.
- A neutral mid-tone, such as light grey, shows little dirt and goes with most tiles.
The practical side should not be forgotten. On floors, especially in kitchens and dining areas, very light or white grout can darken over time. In showers and on kitchen splashbacks, soap, grease and limescale show sooner on pale grout. When choosing, laying out a few tiles and placing a dry grout sample on them helps you see the result in advance. Wet grout can change colour slightly once it has dried.
Cement and epoxy grout
Under the European standard EN 13888, grouts fall into two main groups.
Cementitious grouts are marked CG. The improved CG2 class may also carry W, meaning reduced water absorption, and A, meaning high abrasion resistance. For most residential spaces this group is sufficient. They are easy to work with, but because they are porous they are less resistant to staining and are sometimes treated with a protective sealer.
Reaction resin grouts, usually epoxy, are marked RG. They do not absorb water and are highly resistant to chemicals and stains. They suit professional kitchens, pools, laboratories and floors that are washed frequently. However, their working time is short, residue must be cleaned off the tile surface quickly, and they require an experienced installer. On some porous or polished tiles a test is recommended before use.
For a home kitchen floor and splashback, an improved cementitious grout is often enough; where daily use and cleaning are intensive, epoxy makes maintenance easier.
Where silicone is needed
Not every joint is filled with grout. Where two different surfaces meet and movement occurs, rigid grout cracks. In these places sanitary silicone or a suitable flexible sealant is used:
- the corner line where wall meets floor;
- internal corners where two walls meet;
- where a bath, shower tray or basin meets the wall;
- the junction between a kitchen worktop and splashback;
- movement joints.
The silicone colour is usually matched to the grout so the lines look uniform.
Application and care
Grouting starts once the adhesive has set for the time given by its manufacturer. Joints are cleaned of dust and adhesive residue, grout is pressed in with a rubber float moved diagonally across the joints, the excess is removed, and the surface is then wiped with a damp sponge. The thin haze left behind is polished off with a dry cloth once it has dried.
In everyday cleaning, acidic and abrasive products can damage cementitious grout, so neutral cleaners are preferred. Darkened or crumbling joints can be cleaned out and regrouted without removing the tiles.
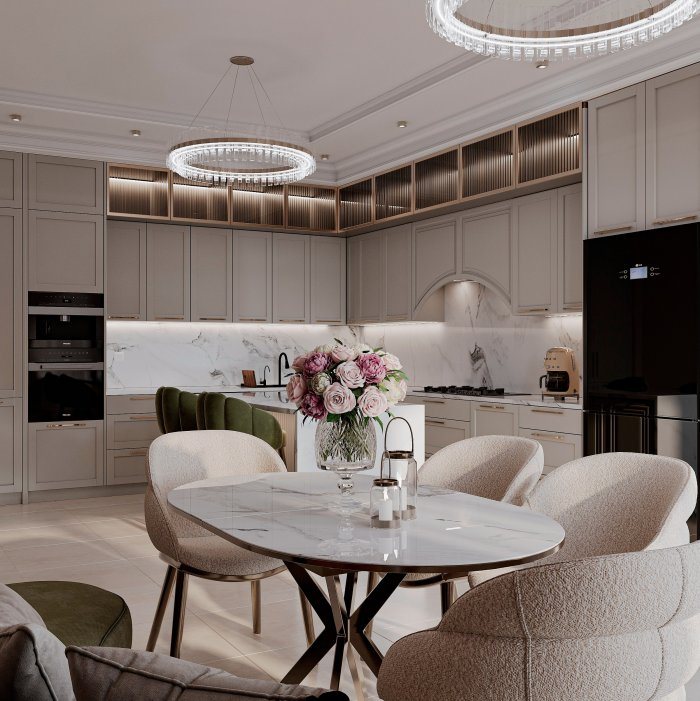
Zaferoğlu İnşaat shows tile layouts together with grout colour and joint lines in computer models when designing kitchens and dining areas. If you have a tile sample, lay it next to two or three grout colours and we can look at them together.
News