How 3D Visualisation Helps a Project
3D visualisation turns plans and elevations into images anyone can read. What decisions it makes easier, which questions it cannot answer, and how to check it.
For most clients a floor plan is a diagram made of lines. You can read the thickness of a wall or the width and height of a window as numbers, yet it is hard to picture what walking into the room will actually feel like. 3D visualisation closes that gap. The geometry of the design is transferred into a computer model, and images are produced from different viewpoints, so the architect and the client finally discuss the same thing while looking at it.
The model and the image are not the same thing
Visualisation has two parts. First a three-dimensional model is built: walls, floors, the roof, window and door openings, stairs and the terrain. Then materials, light sources and surroundings are added, and a realistic view is calculated from a chosen camera.
The distinction matters. The model is tied to the project dimensions and, if built correctly, shows volumes, proportions and how elements relate to one another. The image, on the other hand, is shaped by camera angle, lens width, sun position and colour grading. The same model can look calm or dramatic. When making decisions, look at what the model shows rather than how attractive the picture is.
Where it is especially useful
At concept stage, visualisation lets you talk about massing. Does a two-storey volume look heavy on the plot? How does the roof form sit next to neighbouring buildings? How much shade does a cantilevered section throw over the entrance? These questions become clear in three dimensions, not on a plan.
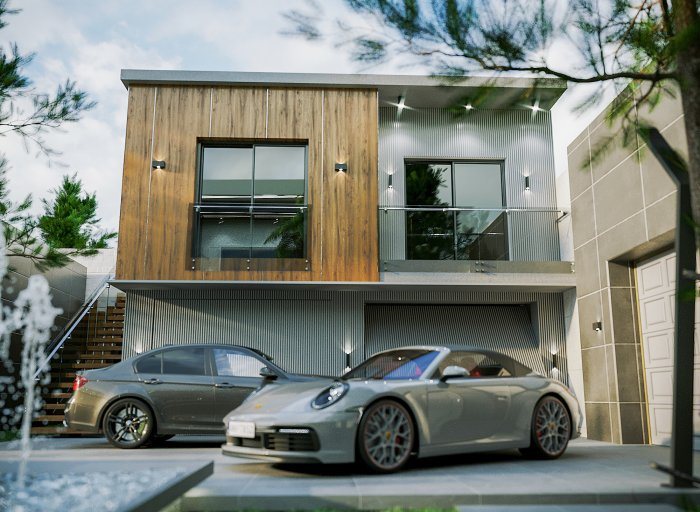
During façade work, material combinations are tested. Where does stone cladding meet render? Which surface gets timber panels? How do window frame colours contrast with the wall? Showing several options from the same camera makes the choice much easier.
Inside, visualisation helps you check your sense of scale: how a double-height ceiling reads, whether there is enough passage between a kitchen island and the sofa, whether daylight from the window reaches the back of the room.
Some projects also include 360° panoramas alongside still images. In a panorama you can stand in the middle of the room and look around, which is far more convenient than a fixed frame for checking which way doors open, how windows relate to furniture and what the sightlines between spaces are. A panorama is only as accurate as the model, though: a detail missing from the model will not appear there either.
Questions a rendering does not answer
However real an image looks, it is not a working drawing. Many details you see may still hide unresolved issues:
- if the beam above a wide glazed opening has not been sized by the structural engineer, the façade may change later;
- the concealed light profile in the ceiling may need a void that has not been coordinated with services;
- the colour and texture of stone on screen differ from the real sample, because on-screen colour depends on the monitor and the post-processing;
- trees, shrubs and human figures bring the scene to life, but they say nothing about when and how the real landscape will develop.
The final word on materials should therefore come from physical sample boards and, where possible, a look on site in natural light.
How to check a visualisation
Before accepting the images, ask a few simple questions. Is the camera at human eye level, or was the view taken from above with an overly wide lens? Do the number of windows and doors match the plan? Are existing conditions such as fences, neighbouring buildings or the road included in the model? Does the sun position match the real orientation of the plot?
A useful technique is to request two views of the same place: one attractive presentation angle and one ordinary viewpoint you will actually see every day, such as from the garden gate or the kitchen window. The second image usually tells you more.
In a digital image everything looks clean and new. A real building will show rain marks, dust, plants that change with the seasons and night lighting that behaves differently. Keeping this difference in mind when reviewing a visualisation makes expectations more realistic and prevents disappointment later.
Its place in the design process
Visualisation acts as a bridge between the concept and the working drawings. Once massing, façade language and key materials are agreed, the model is frozen and working drawings are prepared on that basis. The model can be updated later, but every change must also be carried into the drawings; otherwise the picture and the building start heading in different directions.
On site, the visualisation remains a reference that shows builders and technical staff what the goal is. For difficult junctions, though, the detail drawing, not the image, is what counts.
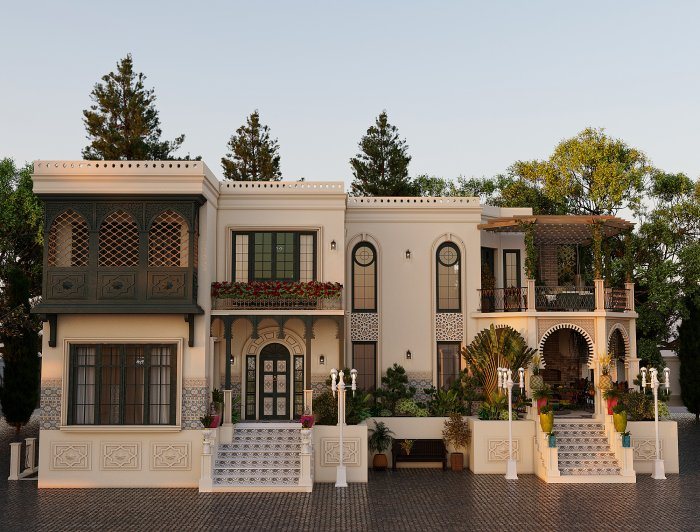
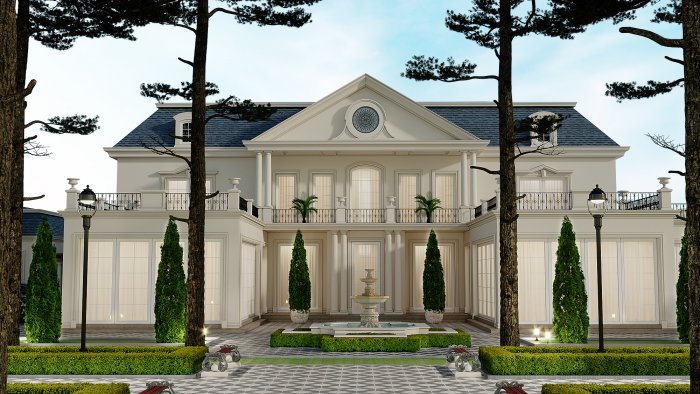
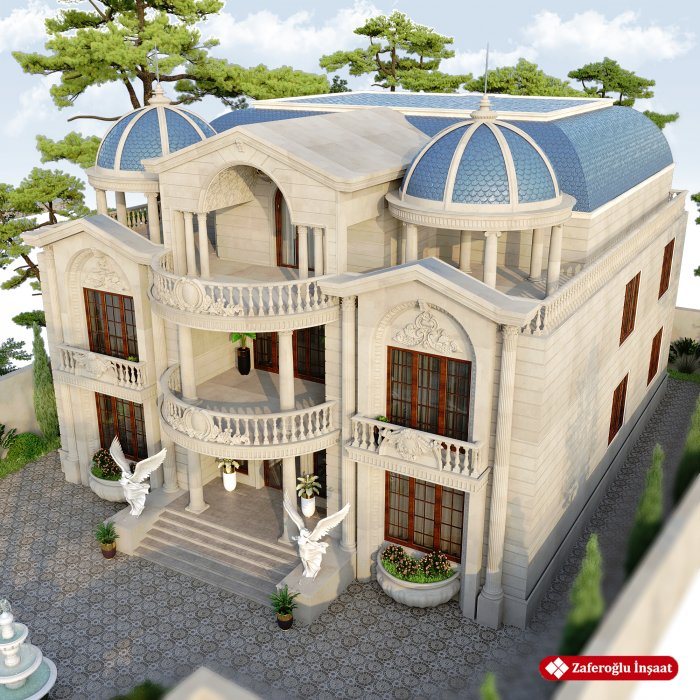
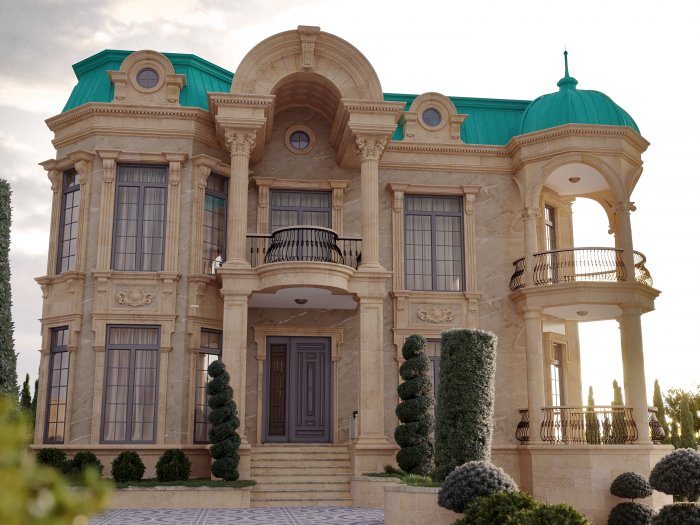
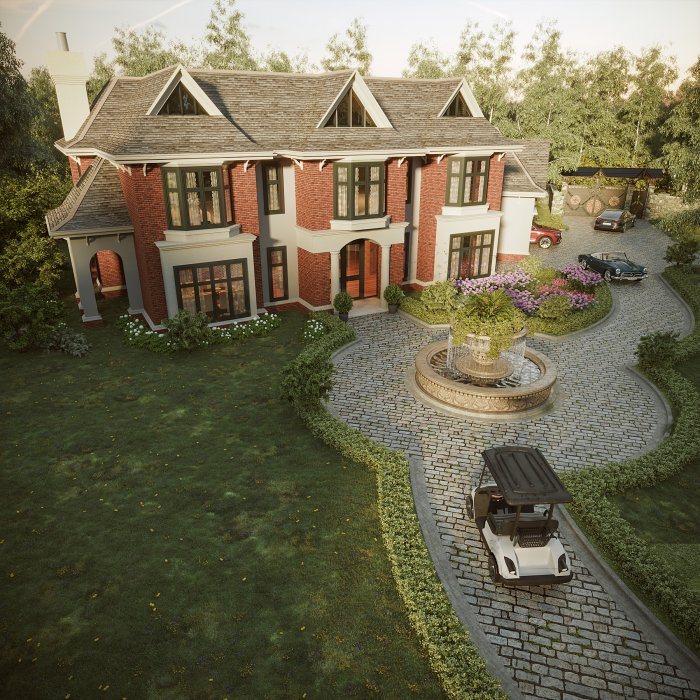
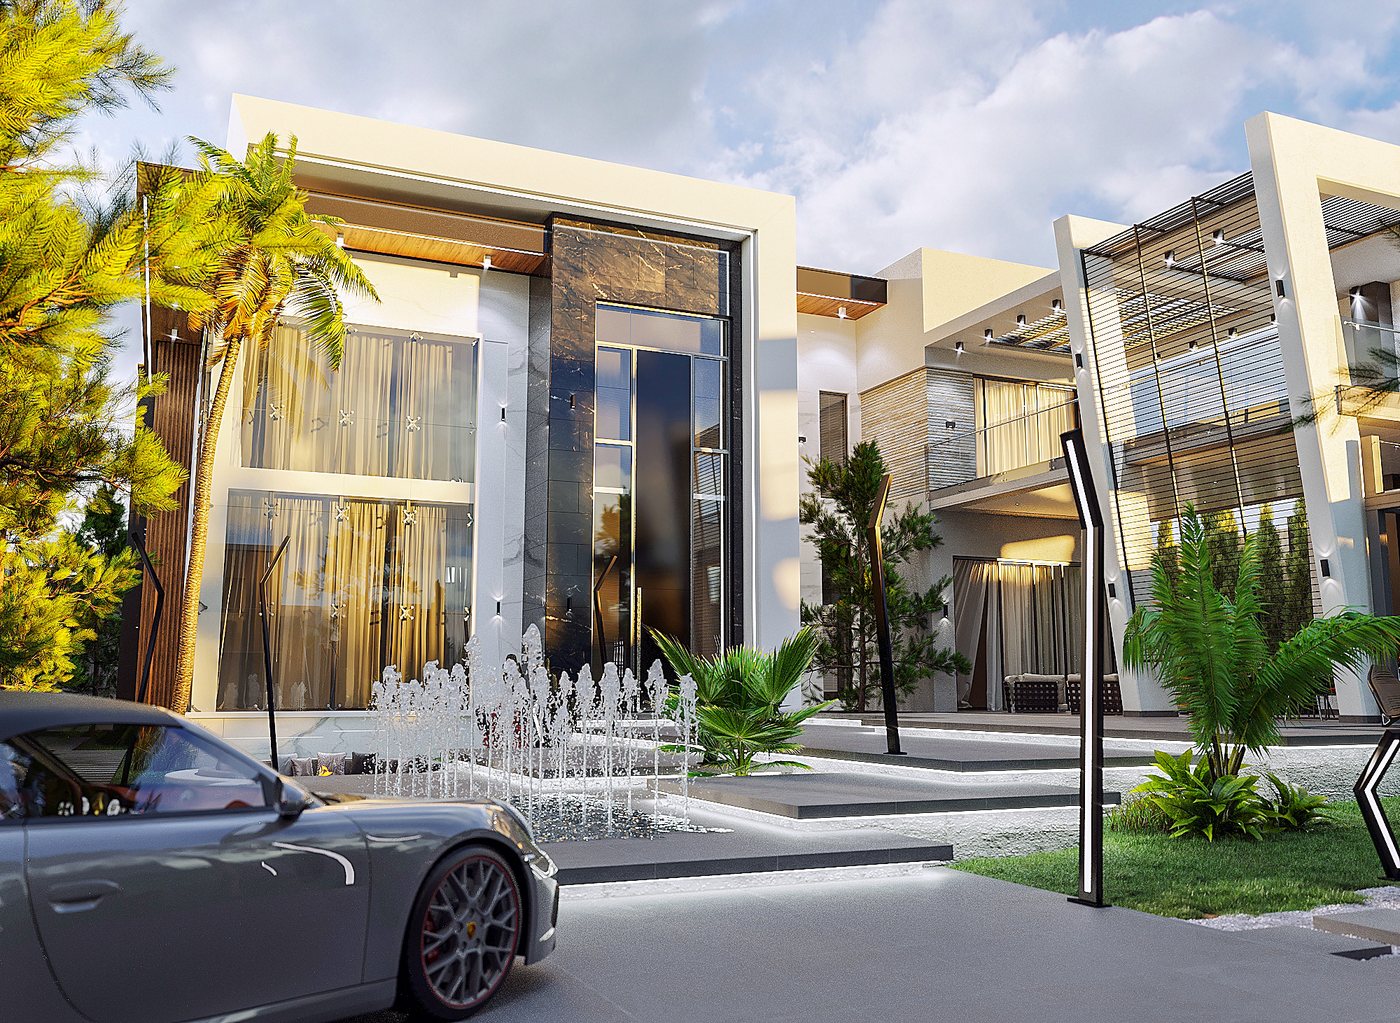
In Zaferoğlu İnşaat's design and architectural services, the future appearance of a house or office is presented through sketches and computer models. The cover images you see on this site are 3D visualisations of the company's projects.
News