Interior Design Project: Stages and Deliverables
A design project starts with a brief, moves through layout options, concept and 3D visualisation, and ends as the set of dimensioned drawings the builders work from.
When people hear “design project”, many picture only attractive visualisations. Yet during a renovation the builders' main tool is not images but dimensioned drawings. Knowing which stages a project goes through and what is handed over at the end makes conversations with a designer easier and lets you check whether the project is complete.
Brief and measured survey
Work begins with a conversation with the client. Household members, daily habits, belongings that must be stored, style preferences and constraints are recorded in the brief. This document becomes the reference for every later decision: each proposal is judged by whether it meets it.
Next the property is measured accurately. Wall lengths, ceiling height, window and door openings, columns, service shafts, ventilation ducts and existing water and power points are transferred to the plan. A measuring error carries through into every drawing that follows, so this stage should never be rushed.
Layout options
Based on the measured plan, several layout options are prepared. They show wall positions, how the space is divided into zones, the general furniture arrangement and circulation routes. At this stage decisions are still cheap: compare the options, walk through everyday routines on paper and choose.
Moving on to colours and materials before the layout is approved is a mistake, because when a wall moves, lighting, furniture and electrical points move with it.
When comparing options, looking only at room areas is not enough. Questions such as whether family members queue for the bathroom in the morning, which way shopping bags are carried to the kitchen, or whether bedrooms stay out of sight when guests arrive reveal the most successful plan. If replanning affects load-bearing structures, moves wet areas or touches ventilation ducts, these points should also be checked with a specialist at this stage.
Concept and visualisation
Once the layout is signed off, the designer develops the overall idea: stylistic direction, colour range, key materials and textures. This is often presented as a collage or material board.
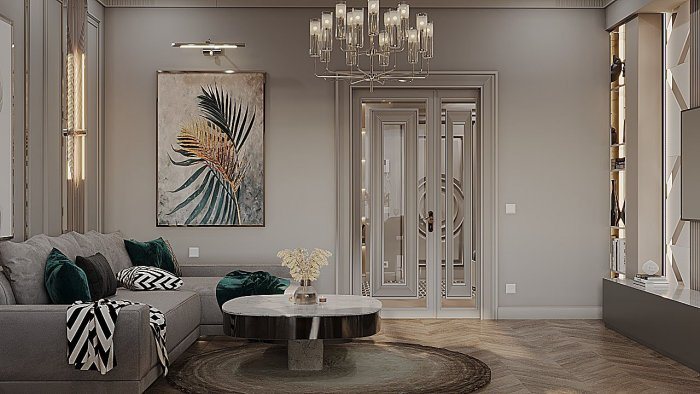
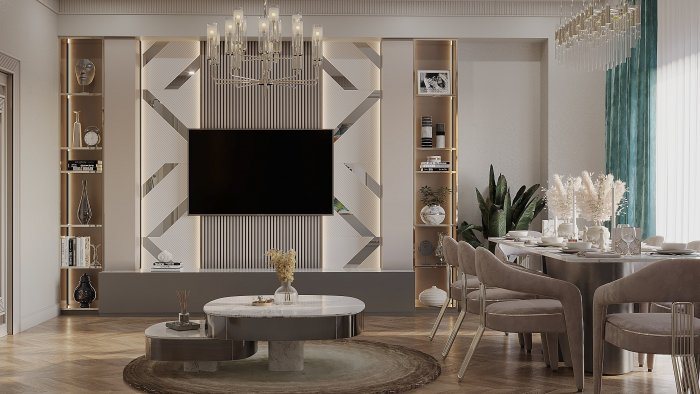
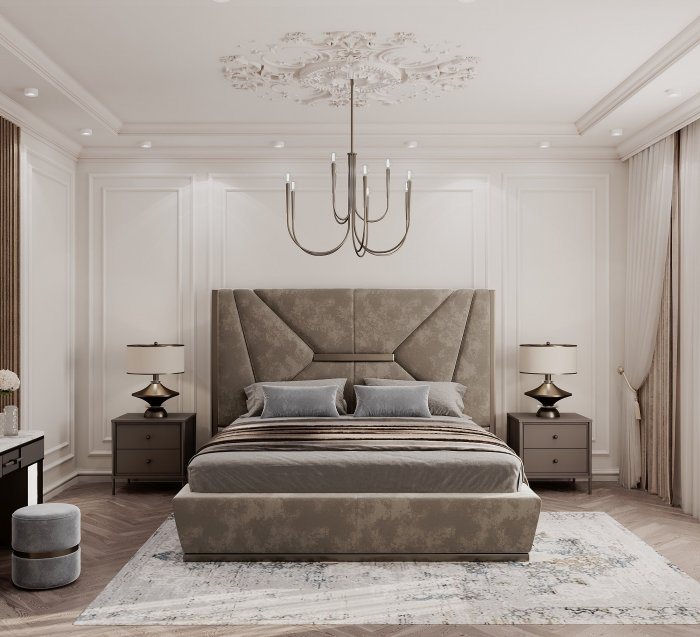
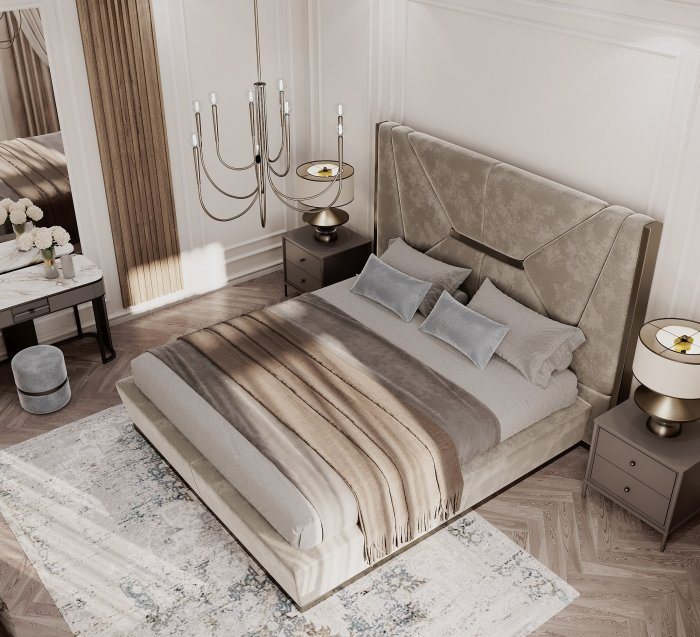
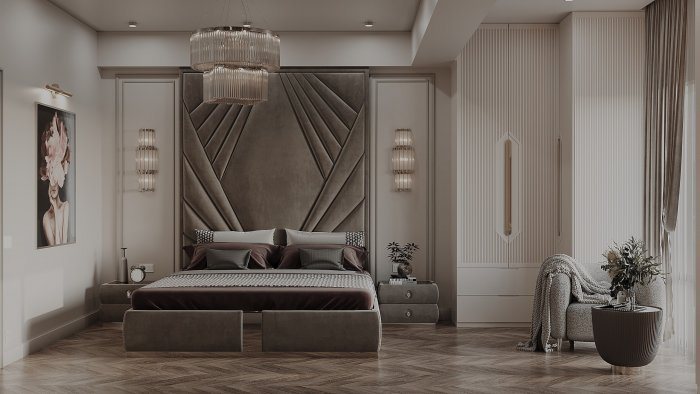
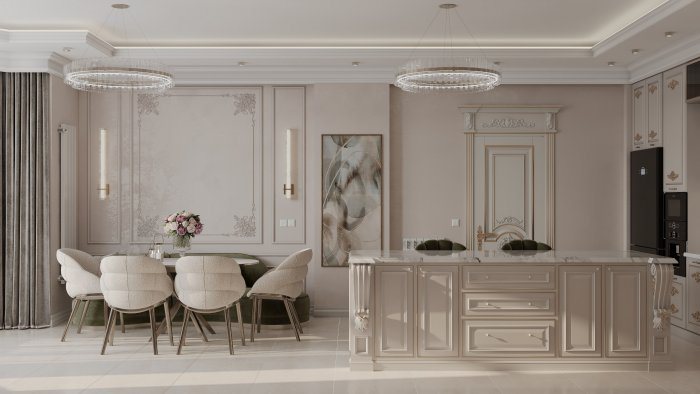
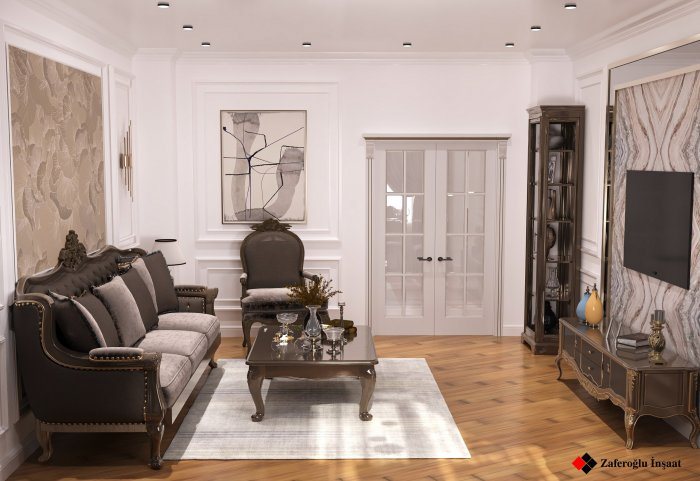
Then 3D visualisations of the main rooms are built. They help you see the result in advance and check colour combinations, the effect of light and the proportions of volumes. It is important to remember that a visualisation is a design model: real materials may look slightly different under actual light, so it is worth viewing physical samples.
This is also the best moment to ask for changes. Adjusting a wall colour, tile shade or lamp shape in the model takes a few hours; on site the same change means buying material again and redoing work. Keep a record of decisions: writing down what was approved for each room prevents disputes later.
The set of working drawings
The most important part of the project is the working documentation. A complete set usually includes:
- measured plan and a plan of walls to be demolished and built;
- furniture and equipment layout;
- electrical plan: sockets, switches, lighting points and circuits;
- plumbing plan: water outlets, drainage, appliance connections;
- ceiling plan: levels, plasterboard structures, luminaire positions;
- floor plan: finishes, laying direction, transition profiles;
- wall elevations: tile layouts, panels, niches;
- schedule of materials and equipment (specification).
Without these documents the builder makes decisions on site, and the result drifts away from the visualisation.
Designer supervision
Questions still come up after the project is handed over: a hidden pipe appears, a chosen material is discontinued, a wall turns out different from the survey. During designer supervision the designer visits the site, checks that the drawings are being read correctly and, when a change is needed, proposes a solution that keeps the logic of the project. The scope of this service and the number of visits should be agreed in the contract in advance.
Supervision is especially valuable before concealed work is closed up. Once cables are chased into walls and pipes are buried in screed, checking them against the project becomes difficult. Inspecting the site after electrical and plumbing runs are installed but before plastering starts — and, if needed, photographing where the lines run — remains useful for years afterwards.
What to check when accepting the project
- are electrical and plumbing points dimensioned for every room;
- do ceiling and floor levels agree with each other;
- does the specification clearly state material names or properties;
- are the solutions shown in the visualisations also reflected in the drawings.
At each of these stages Zaferoğlu İnşaat works with drawings, sketches and computer models for homes, offices and food-service venues, and helps settle materials and colours. The contents of a project can be refined based on the dimensions of your property.
News